It’s that time again.
We’re about ten weeks from our safe frost-free planting date in early May so it is time to start some of the seeds of plants that need a big head start on our short growing season.
Let’s take a look at what we need to start seeds indoors:
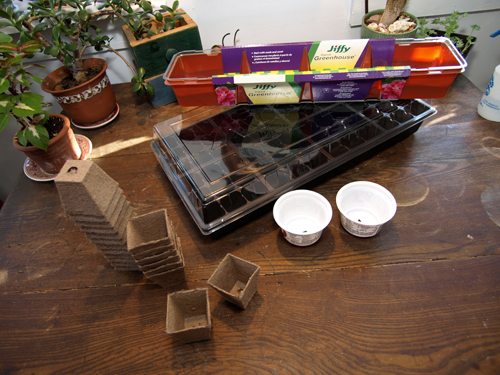
Containers

There are lots of containers that can be used for seed starting. Peat pots are popular, and there are also ‘mini-greenhouses’ that include a tray, gro-cells and a clear cover to maintain high humidity to promote germination. Small plastic pots can also be used. Some folks use recycled yogurt cups or Styrofoam cups for seed starting. If you are re-using pots it is a good idea to soak them in a solution in bleach and water (1/10 ratio) to sterilize them. The main requirement is that the container has holes to let water escape out the bottom so you don’t drown your seedlings.
Seed starting soil
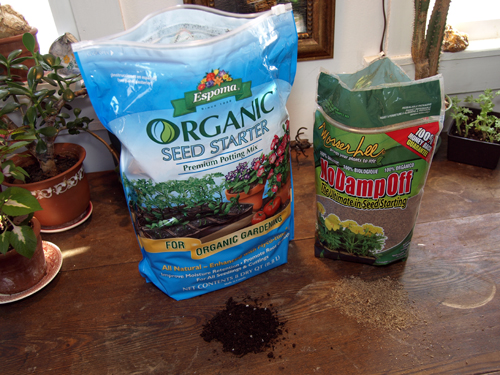
Soil from outdoors or bagged topsoil is not appropriate for seed starting. They may carry plant diseases and are usually too heavy to use for seed starting. The best choice is a light, sterile, seed starting blend made from finely milled sphagnum with vermiculite or perlite added. Seed starting soil are specifically for this purpose.
No dampoff sphagnum
I like to add a layer of finely milled sphagnum to the surface of the seed flat after sowing as added insurance against damping off (a fungal disorder that is the bane of young seedlings). This is not the same sphagnum you would buy in a bale for use in outdoor plantings. It is a very fine, sterile sphagnum produced just for seed starting.
Let’s plant some seeds
I’m going to use the ‘mini-greenhouse’ Since I don’t need a whole flat of eggplant, I’m only going to plant one 6 pack of them and save the rest of the cells for other seeds I’ll want to sow in the next few weeks according to my seed starting calendar.
Here’s the flat of gro-cells filled with soil.
I only fill them about ¾ full since I want to add no-dampoff sphagnum on top of the seeds.
At 8-9 weeks from planting it is time to start my eggplant seeds.
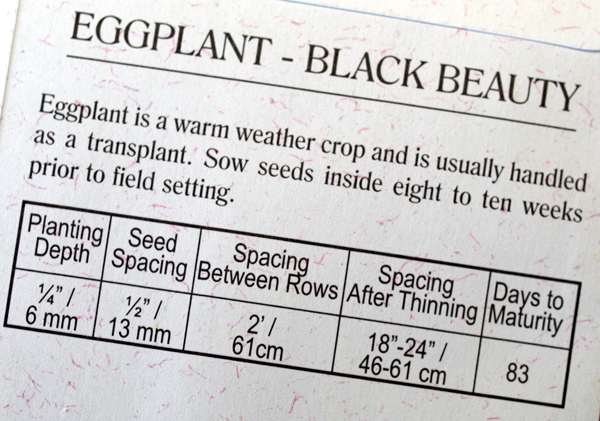
Checking the seed pack, I see that the seeds want to get planted ¼” deep. I like to put two seeds in each cell as insurance. Once they’re up I can pick the stronger of the two and remove the other. Two plants per cell is too many and it may seem ruthless to remove one but the cell isn’t large enough for both seedlings to thrive in.

I cover the seeds with ¼” of no dampoff sphagnum per the seed pack.

Then gently water the pack and place in a south facing window in a warm room.

Light
Many beginners underestimate the light requirement of seedlings. Seeds often will germinate with little or no light only to flop over due to lack of light. Fluorescent lights should be lowered to about 2 inches above the seed flat then raised to 6 inches when the seedlings are 1/2 inch tall. As the seedlings grow, keep the lights about 6 inches above the top of the plants. The lights should be on from 12 to 16 hours each day. Timers are available to turn the lights on and off. Using timers insures that the plants receive the same light at the same interval each day.
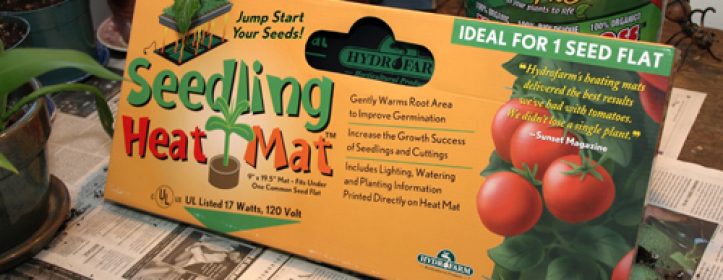
Warmth
Most seeds need temperatures between 65° and 80°F all day and night to germinate. The actual temperature varies for each seed type, so check the seed pack or catalog to be sure. After the seeds sprout, the temperature requirement is generally about 10° lower than the germinating temperature.
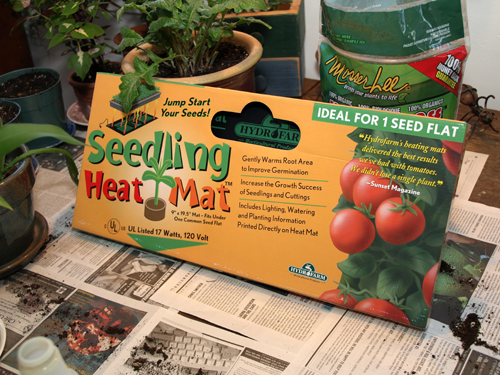
If you keep your house very cool, you might want to invest in a heating mat. Heating mats are made just for seed starting and can really hasten germination.
Careful with the water
Seeds need moisture to sprout, but young seedlings are susceptible to damping off if kept too moist. Remember, seedlings can tolerate being a bit on the dry side but will fail quickly if drowned. You should always check the soil before watering. I prefer to bottom water by pouring water into the flat containing the potted seedlings. After a few minutes the soil is moist but the surface of the soil is dry. If you use this method, be sure to remove any excess moisture from the bottom of the flat. I use a cotton cloth to draw the water up and out of the flat without tipping it. Whatever method you use, it is vital that the seedlings NEVER be left standing in water for more than a few minutes.
Hardening off
Many gardeners do a great job growing the seedlings indoors only to have them fail when they are moved into the garden. This can often be traced to lack of hardening off. Seedlings grown indoors under lights need a period in which to become accustomed to real sunlight, wind, and other conditions not found inside. Find a shady, sheltered spot and give the seedlings a few days there. Be aware that they may need more water in this location. If there are cold nights, move them indoors until morning. Finish hardening off by placing the seedlings into full sun for a few days before planting in there permanent location. More on this at planting time.
Thanks for the read.
Recent Comments